Foam Rolling: The Science of Self-Myofascial Release for Runners
RWA | Updated: 4 March 2026
Foam rolling has become a staple in many runners’ routines, often used after long runs, hard sessions or on recovery days. While it is widely promoted as a way to “release knots” and improve recovery. Understanding the physiology behind foam rolling helps clarify what it can and cannot help with. When applied intentionally, foam rolling can support movement efficiency, reduce excessive muscle tension and contribute to more sustainable training.
Understanding Fascia and the Kinetic Chain
Every muscle in your body is surrounded by dense connective tissue known as fascia, which acts to enclose, support and separate muscles, helping them glide smoothly against one another. It is not an isolated structure but rather a part of a broader integrated system known as the kinetic chain, which includes muscles, tendons, ligaments, joints and the nervous system. Each component in this chain influences the others, so when one area is restricted or overloaded, surrounding tissues adapt and compensate.
Over time, repetitive movements such as running, particularly when combined with poor posture, prior injury or training imbalances, can create areas of increased tissue stiffness. These are commonly described as “knots,” though they are not literal tangles in the muscle. Rather, they represent localised areas of heightened neural tone and altered fascial alignment. If these dysfunctional patterns persist, other parts of the kinetic chain may compensate, increasing fatigue, mechanical stress and the likelihood of overuse injury.
Foam rolling, more accurately referred to as self-myofascial release (SMR), aims to restore more optimal tissue behaviour and reduce these compensatory patterns.
The Physiology Behind Self-Myofascial Release
The effects of foam rolling are largely neurological. Within your muscles are sensory receptors called muscle spindles and Golgi tendon organs. Muscle spindles detect changes in muscle length and trigger reflex contraction to prevent overstretching, while Golgi tendon organs respond to sustained tension and can inhibit muscle contraction when sufficient pressure is applied.
When you apply slow, sustained pressure with a foam roller, particularly over a tender or hypertonic area, the Golgi tendon organs can override the spindle response. This creates a temporary reduction in muscle tone, allowing the tissue to relax more than it would under quick, repetitive rolling. The outcome is not the physical “breaking up” of tissue, but a recalibration of neural input that permits improved range of motion and reduced perceived tightness.
In this way, foam rolling acts less like a mechanical fix and more like a reset to the neuromuscular system. Over time, this can support more efficient movement patterns and reduce excessive load through compensating tissues.
Benefits of Foam Rolling
When used appropriately, SMR techniques, like using a foam roller, massage ball, or handheld roller, can lead to a variety of benefits, including:
|
*It is important to recognise that foam rolling does not eliminate soreness entirely, nor does it replace structured strength training, adequate fuelling or sensible load progression. Instead, it serves as one supportive component of a comprehensive recovery strategy.
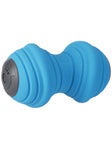
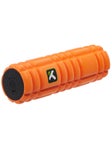
Choosing the Right Tool
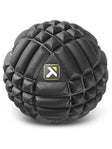
Foam rollers vary in density, texture and size. Softer, lower-density rollers are generally more suitable for beginners or those with high sensitivity. Firmer rollers and textured surfaces apply greater pressure and are better suited to experienced users targeting particularly tight areas. Deep-tissue foam rollers are extra firm and have nodules for targeting deeper layers of muscles, making them ideal for more advanced users.
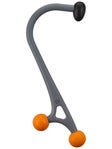
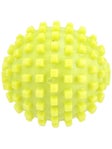
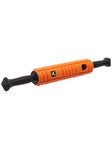
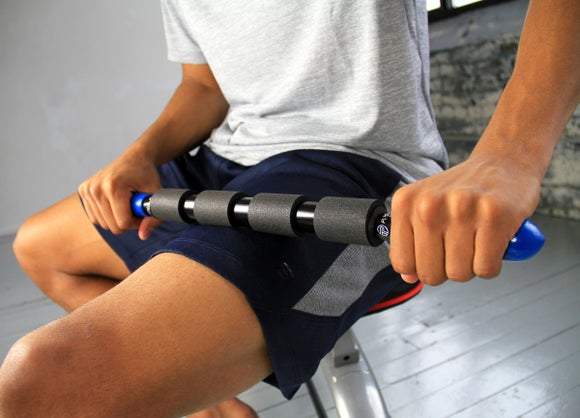
Massage balls or lacrosse balls can complement foam rolling by allowing more targeted pressure in smaller regions such as the glutes or plantar surface of the foot. The choice of tool depends on individual tolerance and the area being addressed rather than a universally “best” option.
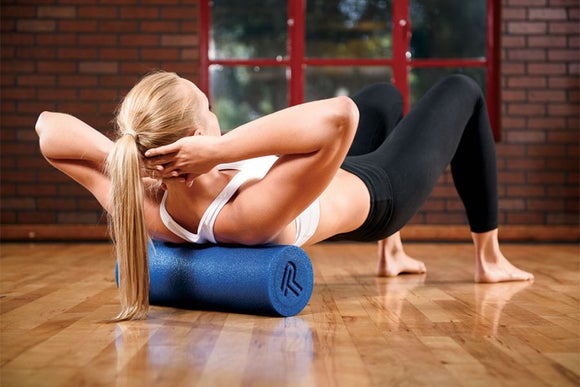
Proper Foam Rolling Technique
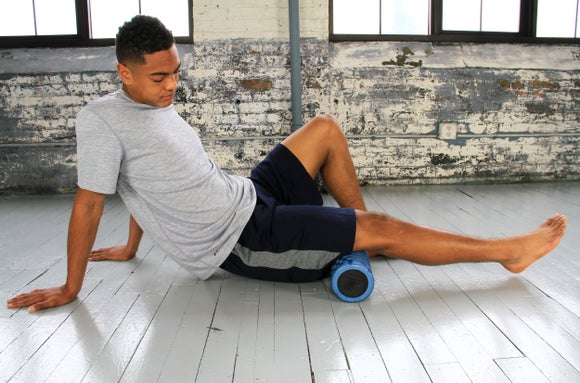
Effective foam rolling is not about rolling quickly up and down a muscle. The key principle is sustained pressure. Slowly scan along the length of a muscle until you identify a tender or restricted area. Once located, pause and maintain pressure for approximately 30 seconds, or until you feel the discomfort begin to decrease. This sustained hold is what allows neural relaxation to occur.
Rolling should be deliberate and controlled, with steady breathing and attention to posture and positioning.
Best Muscle Groups to Target
Many areas of the body can benefit from foam rolling, but below we've outlined the primary muscle groups that are especially useful for runners to begin with.
Calves

The calf complex absorbs substantial load with every stride, particularly during faster running and hill work. Tight calves can restrict ankle mobility and increase strain further up the chain.
To roll the calves:
|
Quadriceps

The quadriceps contribute heavily to propulsion and shock absorption. Tight quads can reduce stride efficiency, limit hip extension, increase knee load.
To roll the quads:
|
Hamstrings

Hamstring tightness can alter pelvic mechanics, increasing strain on the lower back and reducing stride efficiency during running.
To roll the hamstrings:
|
Hip Flexors

Prolonged sitting and high training loads can contribute to tight hip flexors, influencing stride mechanics.
To roll the hip flexors:
|
Glutes & Hips

The glutes play a critical role in pelvic stability and force production. Dysfunction here often leads to compensation elsewhere.
To roll the glutes & hips:
|
Plantar Surface of the Foot
The plantar fascia forms part of the posterior chain (rear muscles from foot to neck), linking the sole of the foot to the calf complex. Increased stiffness in the plantar tissues can elevate strain through the calves and contribute to lower limb fatigue.
To roll the plantar surface:
|
Regular plantar rolling can improve foot mobility, reduce local stiffness and support more efficient force transfer during running. For runners prone to calf cramps or plantar tightness, this small addition can make a meaningful difference.
Note about the IT band: The iliotibial band should not be directly foam rolled. It is a thickened band of fascia rather than a muscle, meaning it does not contract or relax in response to pressure in the same way muscle tissue does. Rolling aggressively over the IT band can increase irritation rather than resolve it.
Instead, focus on the muscles that influence it. Rolling the quadriceps, hamstrings and glutes can reduce compensatory tension through the lateral thigh. You can also target the upper portion of the IT band complex by rolling the tensor fasciae latae (TFL), the small muscle located at the front and side of the hip that feeds directly into the IT band. Position the roller just below the front of the hip bone and slightly toward the outside of the thigh, then apply slow, controlled pressure over this small area. Addressing the TFL and surrounding musculature is far more effective than attempting to roll the IT band itself.
Consistency and the Bigger Picture
Foam rolling is most effective when practiced consistently rather than sporadically. Correcting dysfunctional movement patterns and reducing excessive tone takes time. Short, regular sessions are more beneficial than infrequent, aggressive attempts to “fix everything” in one go.
Ultimately, the goal of foam rolling is not simply to chase soreness, but to support healthy fascial function and maintain balance within the kinetic chain. When integrated with progressive training, adequate recovery, strength work and proper fuelling, it can help runners move more efficiently and reduce unnecessary strain. As with all recovery tools, it should complement, not replace, a well-structured training programme.